The basic introduction of cutout
Cutout is one of the most common operations in image processing. It is to separate a part of a picture or image from the original picture or image into a separate material or layer. The main function is to prepare for later synthesis.
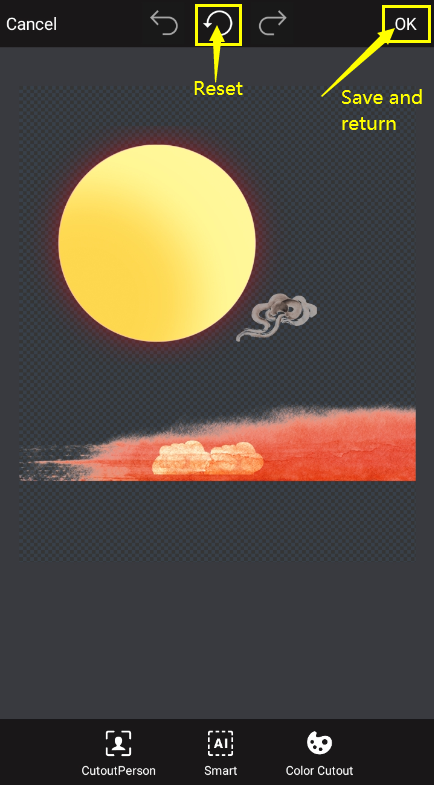
There are many ways to cut out, the software provides you with three methods of portrait, intelligent cutout, color cutout. Tools such as eraser and feather are used.
The material formats that support importing cutouts are:
Picture format: GIF; EPS; JPG; JPEG; png;
Video format: FLV, F4V; MOV; AVI, WAV; WMV, WMA, ASF; MP4, M4V, M4A;
The cutout function has two production entrances, the following is a detailed explanation of the graphic:
The first kind of entrance:
Open the software, find and click the "cutout" function in the home page.

The second entrance:
Open the software, select the layer to be cut out in the project made by AE, and click the "Toolbox" button in the lower left corner.
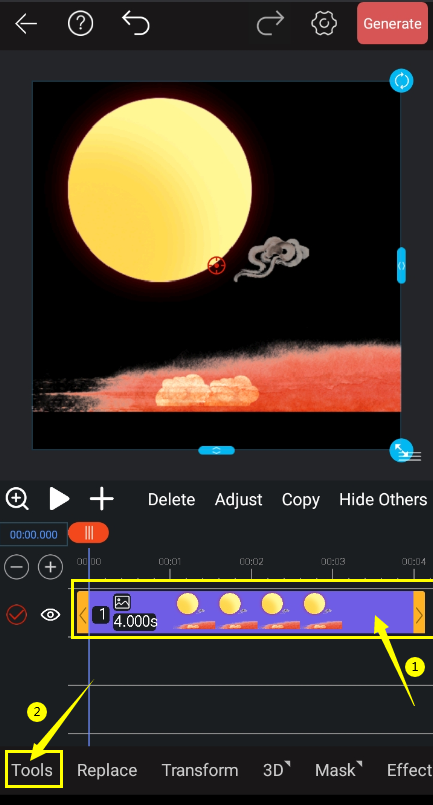
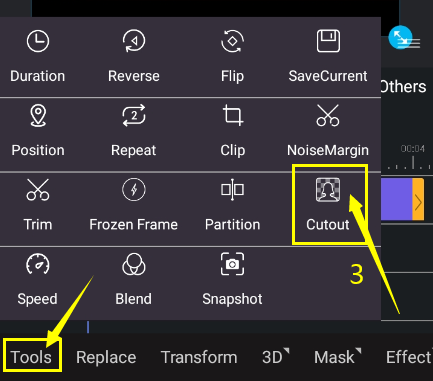
Find and click the "cutout" button to enter the cutout page.
Export
Click the "Confirm" button in the upper right corner to save and exit.
If the source material of your cutout is animation or video format, you need to select the format of the generated material when saving.
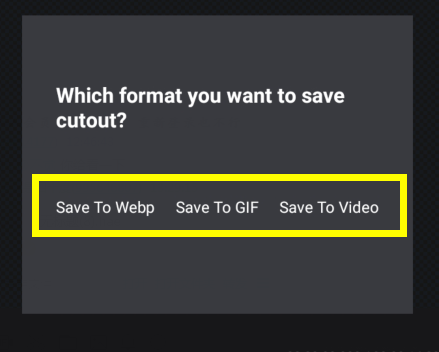
Among them, the advantages and disadvantages of exporting different formats are also different, please choose the format according to actual needs.
1. Webp format: The speed is slow, but it is relatively clear and supports translucency.
2. GIF format: Faster speed, good compatibility, but not clear enough, and only supports transparent and non-transparent pictures, does not support translucent.
3. Video format: use vp9 encoding, support translucent video, export speed is slow, some low-level Android platforms do not have a corresponding decoder.